Thursday, November 11, 2010

Pounding leaves for color

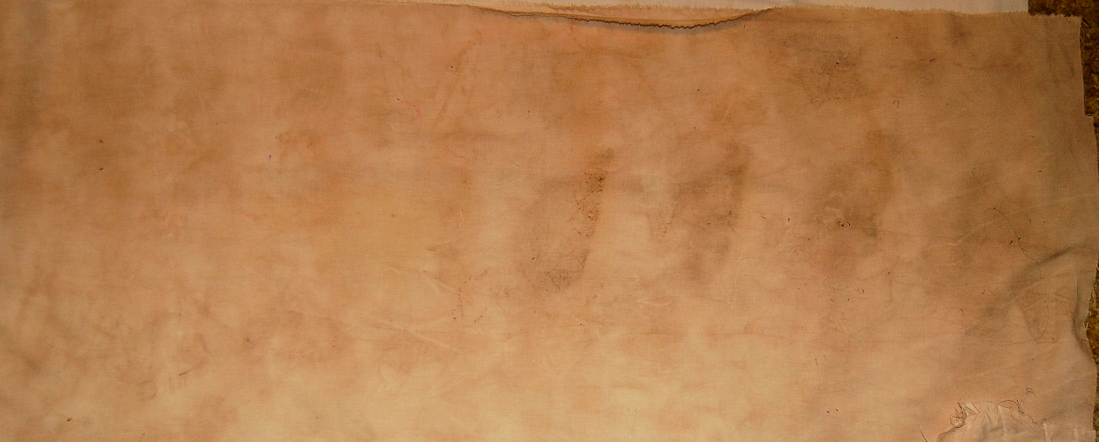
Here are a few pieces of fabric I pounded with a hammer and fall leaves inside. 


Leaf Dyeing -part 3

The darker cloth in this set had been previously rust dyed on chicken wire with results much to faint.  The rust reacted with the tannin in the leaves and gave a nice purplish color.

 Before washing

 After Washing and ironing

 
Waiting to dry and annoying my family!

a few more ironed cloth pieces


Leaf Dyeing Part 2

Okay, so here is a picture of the leaf wraps after being boiled and let to set for a week.
Opening the leaf packages:  maple leaves w/ 1 oak


Sycamore leaves:


                              Washed and ironed -- lost the 1st cloth somewhere


Monday, November 8, 2010

Part 1 Leaf Dyeing

This is the first post in my leaf dyeing experiments.  The first thing I did,  after collectiny my leavers, was to press them between the pages of a large phone book over night.  Then I spread them out on fabric that had been soaked in soda ash as a mordant.  I misted the fabric and laid the leaves down.  Next I covered them with a second cloth. rolled the cloths into bundles and tied them.  Here are pictures of the lovely colorful leaves.

Study in Reds

Sycamore Leaves


Leaf Bundles
        As you can tell from my photos, I started out with various kinds of fabrics and colors of cloth. I used cotton and linen fabrics.  One of the cottons was dyed  previously in dry Black-eyed Susan heads. Another had been rust dyed on chicken wire but the print was too faint.  I was hoping for a little reaction from the rust and the tannin in the leaves.
Result pictures coming soon.

Friday, November 5, 2010

oh! and ooh

No time to blog about my leaf dyeing experiments but will put up pictures of the whole process later this next week.  Just taking a quick break from cleaning my studio.  Must clean and then fix my machine. Lock in tonight at my quilt guild.


I was trying to see if purple mums would dye cloth.  A few weeks ago.
Below is what I uncovered, forgotten in my studio....my only comment  ooh gross!

Thursday, November 4, 2010

NaNoJouMo

NaNoJouMo ........what!!!!!!!!
  Okay this stands for National Nostop Journaling Month

Some art journalers have created a journal exercise similar to NaNoWriMo (National Nonstop Writing Month).  The idea is to create a journal entry every day in November. Need inspiration for your daily entries? Dawn has set prompt. Check out her blog each morning for the prompt.  She also has set up a Flickr group for those who’d like to share  their journal pages throughout the month.

I am starting today on day 4, as I just found out.   The words for the previous days were:

 Day 1 :inception

 Day 2: choice

 Day 3: fortune

 Day 4: quarter

Come play or Write along ....dosen't need to be perfect, just be yourself and have fun!

Wednesday, October 27, 2010

Windfall

The terrific winds and storms yesterday left lots of windfall.  I have gathered all sorts of colorful leaves to try some eco printing with.  Today I am pressing them in the phone book. (not Stanford's- way to small - used the Lexington book.)   I will also mordate some fabric in soda ash or alum.   Hopefully Thursday or Friday i will find some time to wrap them in fabric bundles and steam them.  Then I will let them sit a few weeks, or as long as i can wait.

Cheap Black Fabric!

I certainly learned my lesson yesterday.  Prewash cheap black fabric before sewing.  My hands and fingernails were black after i got done sewing silver spiderwebs on my daughters witch costume. (Politically incorrect but it's been that or a fairy every year - at least it's not a sexy out outlandishly short costume - this one covers all)
Anyway after dinner last night, i went to wash up and found I had black smudges all over my face.  Thank goodness I didn't go anywhere.  My family - either didn't notice or are way to polite to comment. ( I'm betting on a bit of both)

Well off to sew more spiderwebs as the drier will be done soon.

Saturday, October 23, 2010

Painted Ponies -Glue Batik


Here is a picture of the glue based batik I was working on.  I was done on a large piece of linen from an used shirt.  The ponies are my daughter's design.
If you haven't tried glue for a batik method  It is very easy.  Elmer's Blue school gel is what you use.
Now how to thread paint this .....

Tuesday, October 19, 2010

Working Hard

Just taking a quick break.  I've been working on 6 new journal covers and some quilted bookmakers.  Need to add hand embellishments this evening.
The rust dyed velor fabric made 2 very nice journal covers. Only one problem, the sewing machine needle would not sew through them and just kept shredding the thread.  This is the first time I've had trouble with my rust dyed fabric.  I thought I had a perfect solution, I'd try needle felting it.  Three broken needles later I gave up.  Now I am hand embellishing shell outlines and couching other fibers.  I am happy with the results, just not the pace.

My second attempt with glue batik has had good results.  I thought it would be a disaster because I started painting and then let it set three weeks before I got back to it.  Rinsed out the glue yesterday and it actually still came out. Yeah!   Now for some color touch up an a lot of thread painting.