I tried snow dyeing with the last snow we had. It wasn't much but managed to scrape some up.
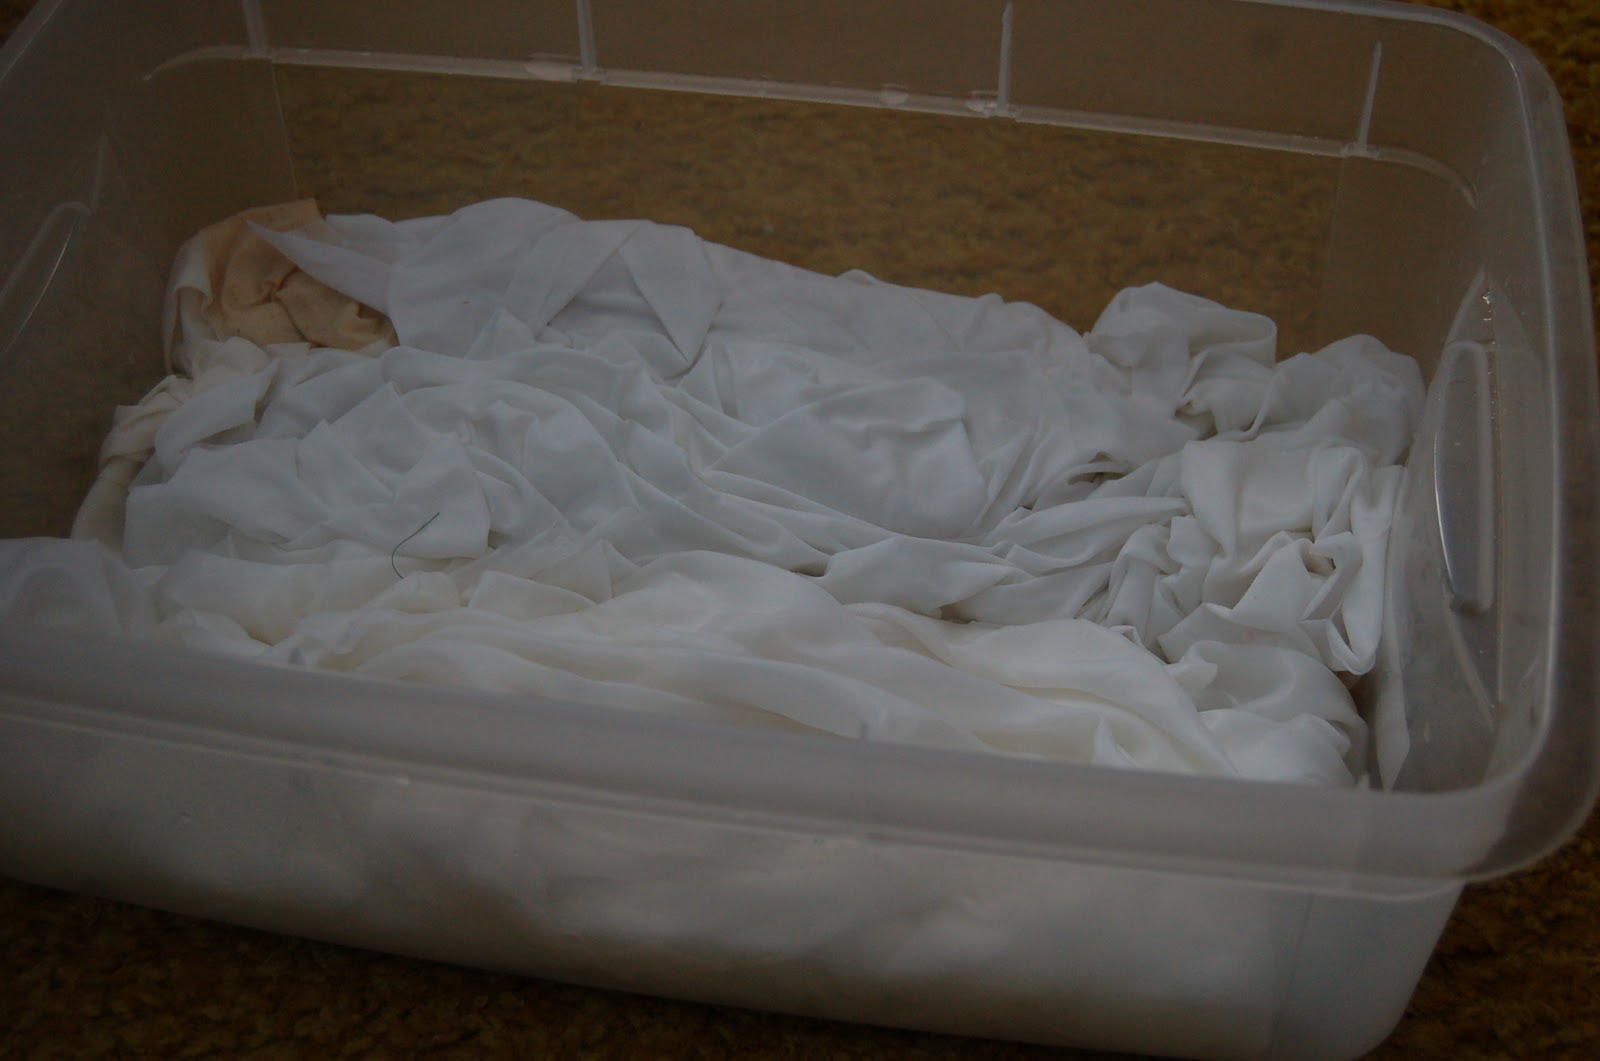
I first soaked my fabric in soda ash water. I used PFD cotton, synthetic satin, a silk scarf, pale eco dyed pieces, scape white with stains.
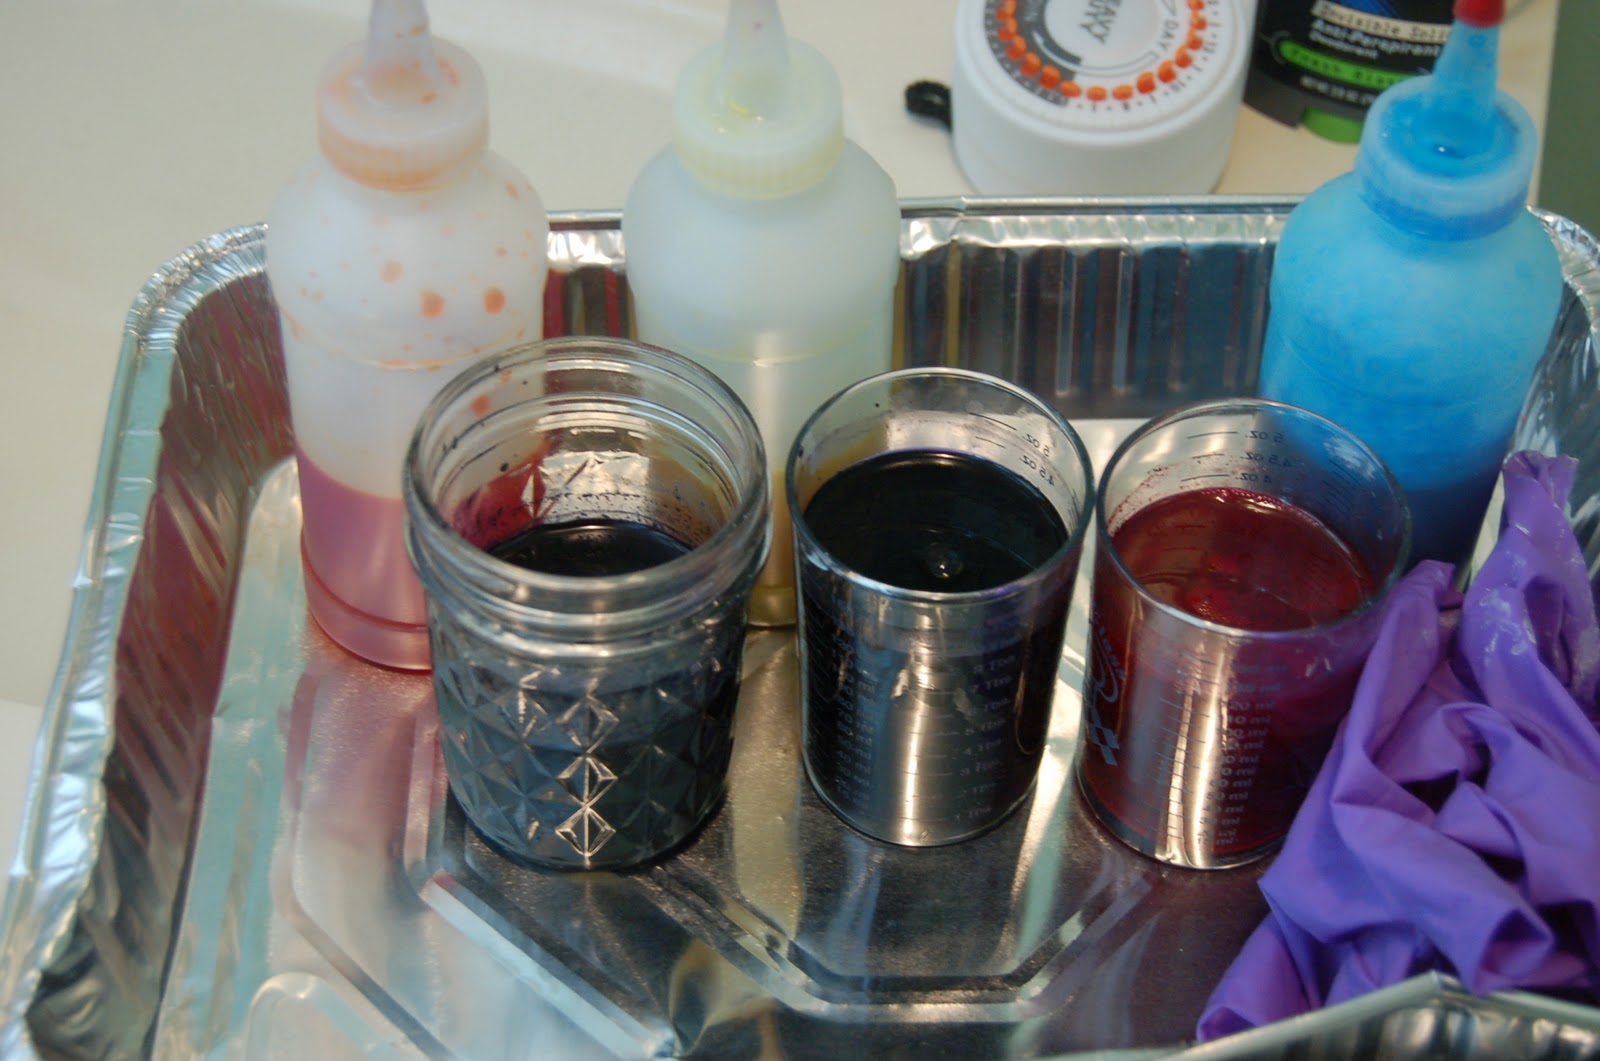
I used 1/2 tsp. of powdered dye, 1 tsp salt dissolved in 6oz of water for my dye bases.
I used 1/2 tsp. of powdered dye, 1 tsp salt dissolved in 6oz of water for my dye bases.
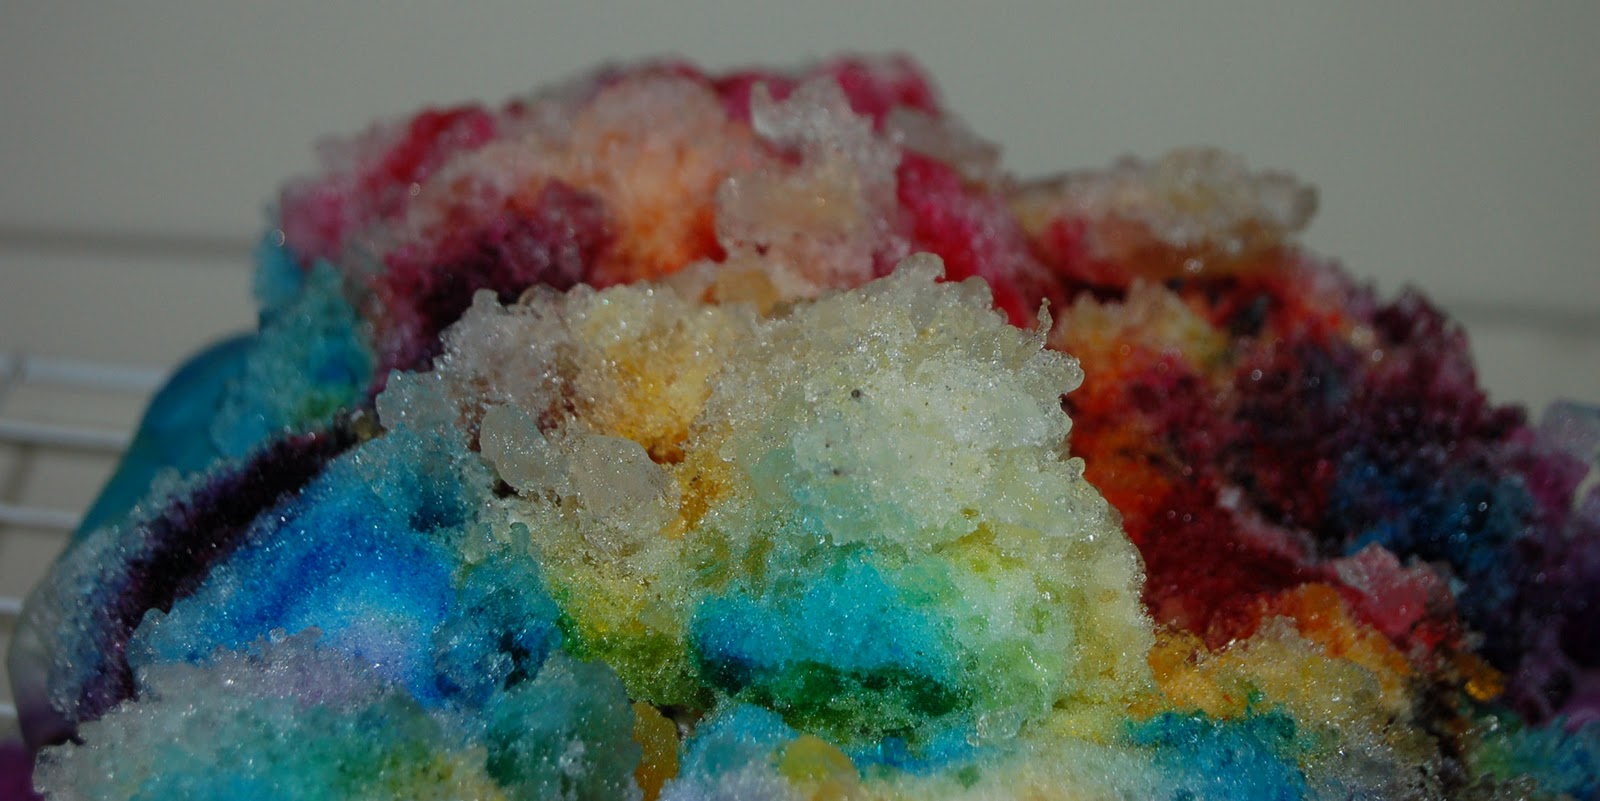
I placed my fabric on a wire rack over a plastic tray and packed on the snow. Next step was squirting on the dye.
I will show the before and after pictures for each fabric step by step in the next couple of posts.


 Pouring on fuchsia , then the turquoise