

Wednesday, March 2, 2011
Look what I found
Well after finding the crocus Monday, a tornado Tuesday, today I decided to scrap off some of my leaf mulch in case something else was starting to grow. I found two anemic yet hearty hyacinths under about 5 inches of wet leaves. I think with a little sunlight they should green up and bloom nicely.


Under all the leaves - spring
under the leaf mulch
green shoots raise their heads
first heralds of spring
Spring came sooner than I thought. I found fully bloomed crocus under the leaf mulch I had not yet cleared off my garden.


green shoots raise their heads
first heralds of spring
Spring came sooner than I thought. I found fully bloomed crocus under the leaf mulch I had not yet cleared off my garden.


Tuesday, March 1, 2011
February's Scrap Challenge
February's scrap challenge color was red. First I choose a photo of one of my roses. I decides to select a portion of it and make a kaleidoscope.

I started with looking through my large and small scraps for lights and darks.


Next I sorted thread for various red shades. It is unfortunate that as soon as white is added to fed you get pink or if yellow a peachy shade. I decided to only use the reds.


You may be able to see some of the free hand quilting by clicking on the close up.
Unfortunately, i was not happy with my results. I think when i have time I will do a realistic read rose.

I started with looking through my large and small scraps for lights and darks.


Next I sorted thread for various red shades. It is unfortunate that as soon as white is added to fed you get pink or if yellow a peachy shade. I decided to only use the reds.


Here is my pizza slice wedge based on the flower contours from a small section. I started with red satin, but scored it. I found a darker cotton and utilized what I could of the satin scrape for the applique pieces.
Below is my finished piece. After lots of applique and then quilting I finished the piece off by going around the edges twice with yarn and a zigzag stitch.


You may be able to see some of the free hand quilting by clicking on the close up.
Unfortunately, i was not happy with my results. I think when i have time I will do a realistic read rose.
Thursday, February 24, 2011
Studio Pictures
Since my 1st studio on a budget design two years ago. I have added more storage and rearranged things. Since I am always misplacing tools under fabric etc. I put up a larger peg board and traced where my tools go. Whenever I glance that direction I can tell what is missing and try to put them back right away. Oops! My favorite ruler and blue rotary cutter are nowhere to be seen.


When our Goodies Store was closing last spring, I was able to pick up 5 clear plexiglass cubicles. They are a bit scratched, but very durable and perfect for all my quilting magazines, idea notebooks and embellishment boxes.
Studio Design on a Shoestring
This is a post about when I first set up my studio. I will post more recent pictures later.
I know a lot of people have been posting pictures of their quilt studios. My ideas may help those of you who don't have a lot of money to spend. I have been lucky enough to take over my college son's bedroom. Just a little bit of muscle changes my cutting table area back into a bed. I have use the headboard and two saw horses to make my cutting table. A 4ft by 7ft piece of marker board was glued to the same size piece of plywood. This makes a great top to draw on or for working with paint. For Christmas I had a mat-board custom cut to fit over this. My tools are kept on the wall on scrap pieces of peg board. I didn't even have to throw out my son's teddy bear collection or gymnastic medals


My storage system has been plastic stack drawers that I try to get when I can find them on sale. (Usually at Big lots) I use them as the base for my pressing table. The top is again plywood with cotton batting and muslin stretched over it and stapled on the back.

I removed the closet doors and added boards for shelves and more storage bins. An empty dresser and two night stands stacked serve as extra storage.
My biggest challenge was for a sewing table. I had a folding table just the right height, but I wanted my machine set down in like a "real" sewing table. We went to Lowes to find some 1/2 inch thick smooth wood. We couldn't find anything suitable, but it was suggested that we look in floor tiles because the boxes had smooth boards in the top for shipping that are thrown away. We found two that were perfect size. ( and free) My husband traced my machine and cut a hole in both boards. Then we glued them with wood glue. A frame was made using 2' by 1" wood. Finally a notch was cut in the frame so I could load the bobin without lifting my machine. It may not be fancy, but it sure works great.


My design wall was made with white flannel over fiber board.


I know a lot of people have been posting pictures of their quilt studios. My ideas may help those of you who don't have a lot of money to spend. I have been lucky enough to take over my college son's bedroom. Just a little bit of muscle changes my cutting table area back into a bed. I have use the headboard and two saw horses to make my cutting table. A 4ft by 7ft piece of marker board was glued to the same size piece of plywood. This makes a great top to draw on or for working with paint. For Christmas I had a mat-board custom cut to fit over this. My tools are kept on the wall on scrap pieces of peg board. I didn't even have to throw out my son's teddy bear collection or gymnastic medals


I removed the closet doors and added boards for shelves and more storage bins. An empty dresser and two night stands stacked serve as extra storage.


My design wall was made with white flannel over fiber board.

The last wall of my studio is where my daughter's sewing machine is and of course a few more storage boxes. You can see the corner of my pressing table on the left.

Wednesday, February 23, 2011
The Art of African Grandmothers | Bonnie Samuel Blog
Art for Social commentary
"This is a story of African women who when faced with the devastation of AIDS in their families, turned to textile design skills of their culture to raise funds to support of their own grandchildren. " The Art of African Grandmothers | Bonnie Samuel Blog
"This is a story of African women who when faced with the devastation of AIDS in their families, turned to textile design skills of their culture to raise funds to support of their own grandchildren. " The Art of African Grandmothers | Bonnie Samuel Blog
Sunday, February 20, 2011
Sneak Peak
Just a sneak peak of the double wedding ring table runner for my son's wedding. The black corner triangles have to be added to each block. The corners will be the background fabric. The boarder will match the black triangles.


Friday, February 18, 2011
Zentangles days 14-17
Been tangling but haven't posted.
Day 17
This tangle was drawn while watching my daughter get new wires in her braces.
 Day 16 This is redemption


Day 17
This tangle was drawn while watching my daughter get new wires in her braces.


Day 15 - Enjoying the warm weather and thinking about spring. The right side looks like grub worms in the soil.

Day 14
A rose for Valentine's Day

.
A rose for Valentine's Day

Tuesday, February 15, 2011
My Valentine's Project
Here's my free motion valentine's day project and Haiku I made for my husband.


Last of the Snow Dyes
Here are all the scrap pieces I dyed. I had lots of fun dyeing, but my fingers froze.
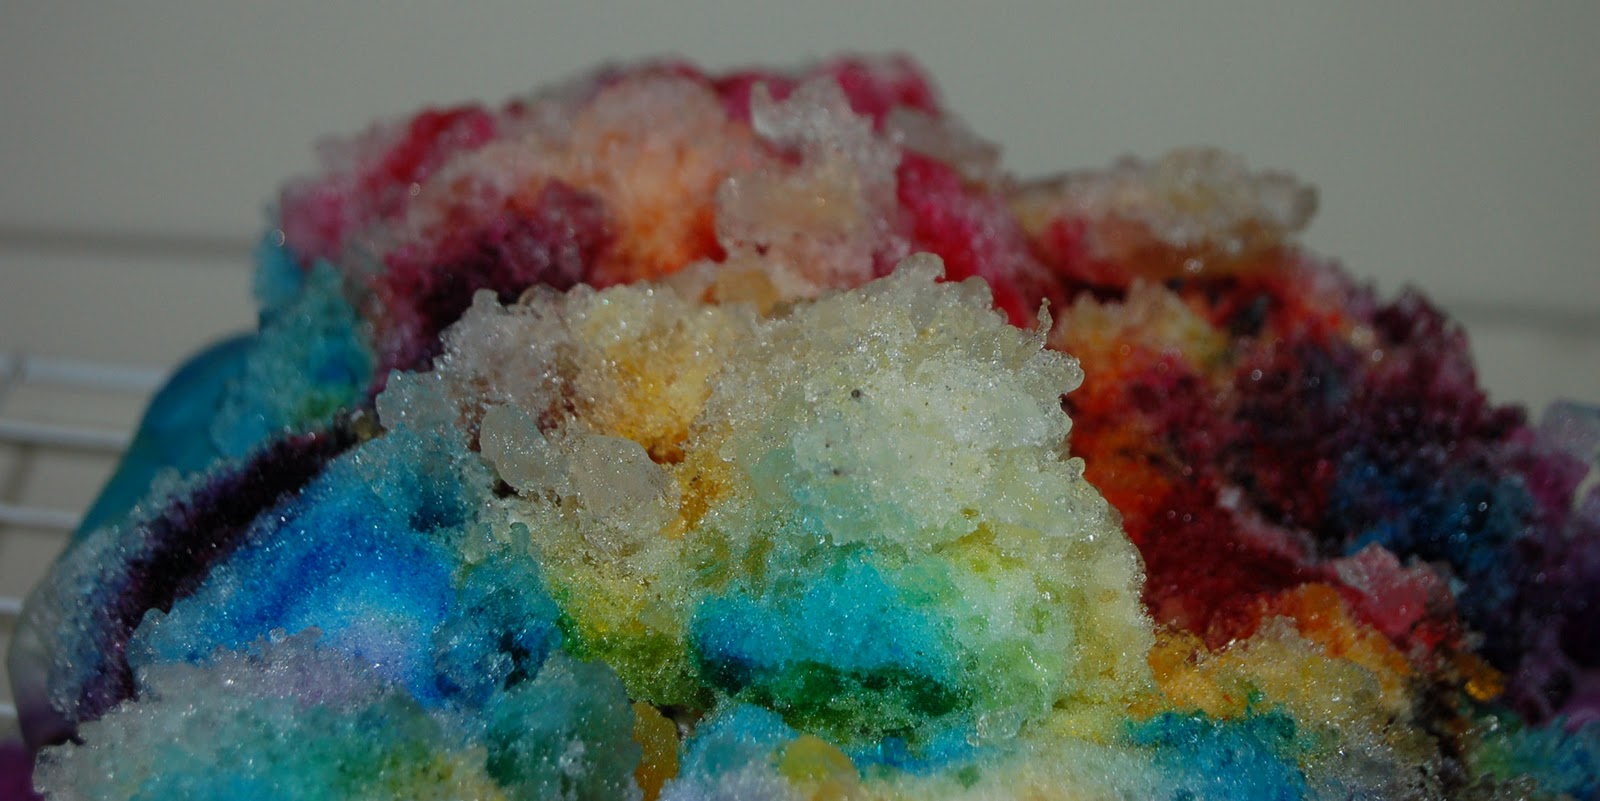 |
| Looks like a snow cone, but don't eat! |
 |
| Fushia and Black Dye |
 |
| close-up |
 |
| Mixture of dyes -mainly black |
 |
| mixture - blue, yellow, black, and a fushia spill |
 |
| Fushia, Turquoise, and Black |
Subscribe to:
Posts (Atom)