This messenger bag has freehand stitched designs on the front flap and the back of bag. All of my bags have brass hardware. Inside the back has a zipper pocket and another small pocket.
Friday, September 24, 2010
Thursday, September 23, 2010
Black-eyed Susan & Magnolia Pod dye
I left the flower heads, loose seeds and magnolia pods in the dye when pouring it over the cloth to be dyed. Like I mentioned before. I like the look of the added texture. Some of the cloth I pole wrapped, one I twisted copper around as a mordant, some I tied in knots, and one I lay pods and flower heads on and rolled these up inside the cloth and then placed in jars. I will let these sit in the sun a couple of weeks.
Dyeing with Black Walnut
| ||
| Walnut dye |
cloth with knots and rubberbands cloth folded and pole wraped
cheesecloth batting
I wrapped another piece of cloth on a pole squished it up and put it in the leftover dye bath. I will let this sit a couple weeks and see if it turns a nicer brown shade with age.
| Last cloth in cold dye wrapped around copper (will let sit for a few weeks) |
1st two fabrics ready to be overdyed with a different plant dye.
Dyeing with Fungi day 2
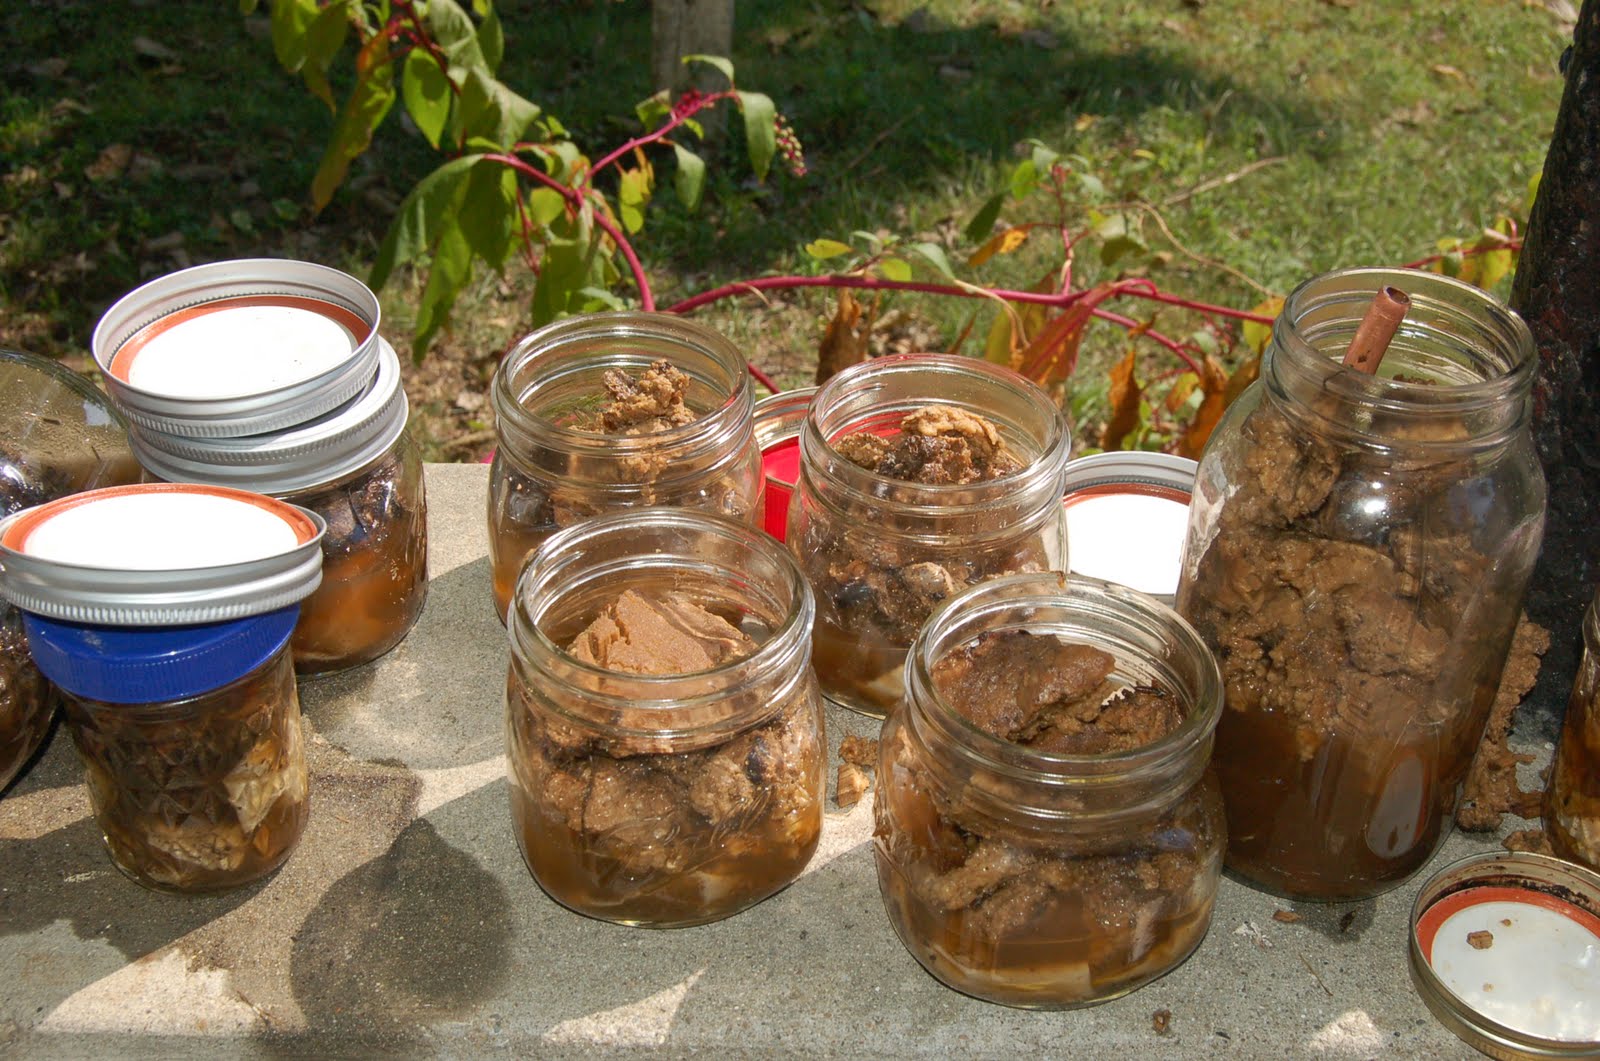
I checked out the jar experiments this morning, not much difference from yesterday. Was greatly disappointed in lack of cloth color. I took the cooked down fungi from yesterday and placed some in each jar, resealed them and shook them up. I'm not interested in a smooth overall color - I like texture. Now I will just let them sit for a month and see what happens.
![]() | ||
| not much happening here |
| Fungus 2 added to jars. |
| Fungus 1 felt like soft cork (really gross looking) |
Wednesday, September 22, 2010
cleaning and dyeing
This morning I hung up my fabric that sat all night in soda ash and alum.
Then I started boiling the fungi. While I waited I cleaned up and organized the garage. I even made a space to set up my dye experiments. No more kitchen mess!
| More than 1/2 way finished |
| workspace for dyeing |
| fungus 1 cooling so it can be chopped up more |
| Fungus 2 boilimg |
Tuesday, September 21, 2010
Dyeing with Fungi
Here are some pictures of the fungi I found today. The first one is part of some fungi growing from the side of our hackberry tree.
The second is from a stump in my neighbors yard. I went to ask them about scraping lichen and fungi from their woodpile and they helped me pull these off one of their tree stumps in.
Now I am souring the fabric in hot water with soda ash and alum. I will let these soak all night and then hand to dry, before dyeing them. I will be testing with the following ingredients added to the dye: salt, vinegar, lemon juice, alum, cream of tartar, ammonia. Can't wait to try this. Will work outside with old pots and the heat base for the turkey fryer.
Dyeing Garden
My flower garden is dying, but that didn't stop me from using the dried materials to dye some fabric. This was just a simple experiment. I packed some small baby food jars with plant materials, poured warm water over them, stuffed a small piece of PFD fabric in the jars and sealed them. Then I let them sit 2 weeks on my front porch. No mordants or anything else was used. Most of these were very weak as my rain deprived and neglected garden had little to yield. The coreopsis seed heads turned the water a lovely yellow shade right away. The cloth was dark yellow until rinsed, then it was very pale. I believe if I boiled the ingredients instead of only setting them in sun and used some mordants results would be stronger. Here are the sample pieces. I am going to make them into a quilted journal cover for my natural dye notes.
The images below show samples and what was used as well as the original cloth color.
Labels:
art quilts,
fabric dyeing,
natural dyes,
plant dyes,
quilts
Subscribe to:
Posts (Atom)